Versions Compared
Key
- This line was added.
- This line was removed.
- Formatting was changed.
Uploading documents to the publication space will only give your company access to those documents. If you want others outside of your company to have access you will need to distribute them. The users you choose to distribute to will receive a transmittal with the documents as well as be able to access the documents in the publication space.
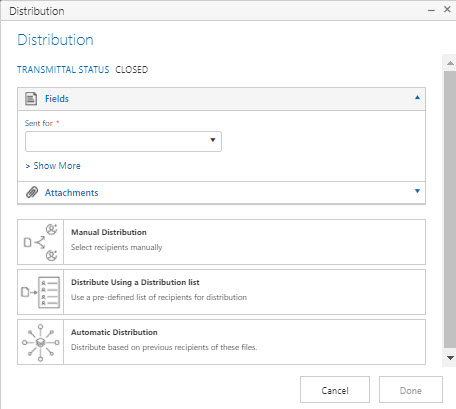
Distributing can be done at any time including at the time of upload. RIB CX provides a few options for distributing your documents such as manual, via a distribution list and automatic. In this article, we will take you through each method.
Distribute On Uploading
After you have uploaded documents to the Publication Space a distribution window will appear. Click here for how to upload to the publication space.
Distribute from Document Toolbar
1. When you select one or more documents the Document Toolbar will appear at the bottom of the screen.
2. To distribute click on the Distribute button.

| Info |
|---|
When distributing a document this way please note that it will only distribute the latest (current) revision the user logged in has access to |
The Distribution Window
1. The distribution window appears after uploading documents or clicking distribute from the document tool bar.
2. Only REQUIRED custom fields will be shown in the Fields section of the Transmittal.
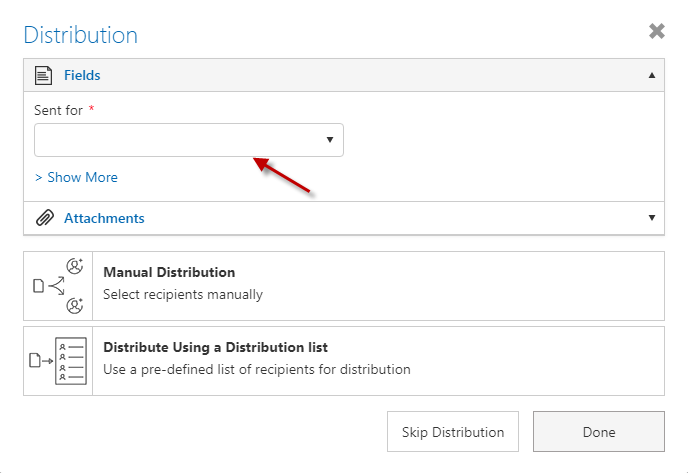
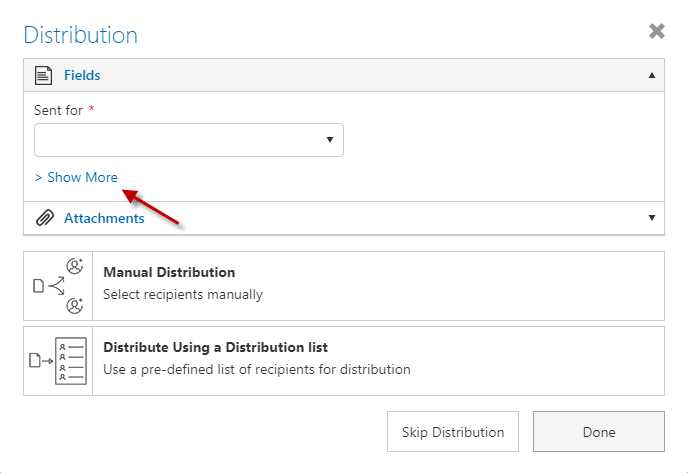
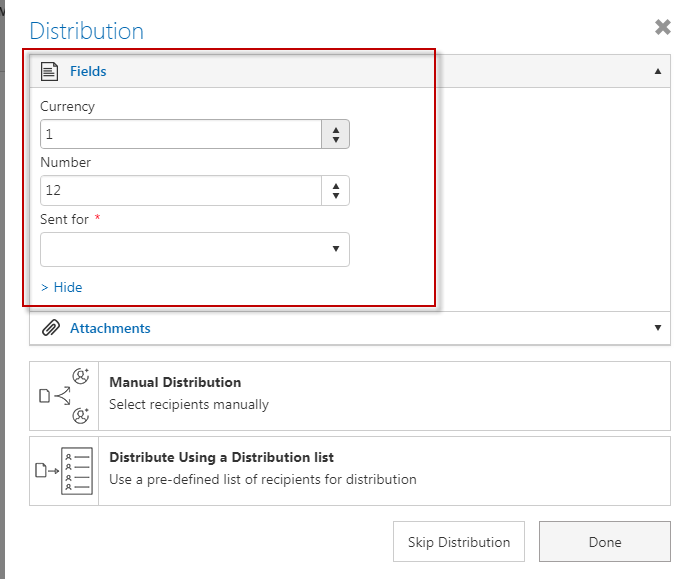
3. If you need to view and fill out the user fields that are on the Transmittal, please click on Show More.
Types of Distribution
Manual Distribution
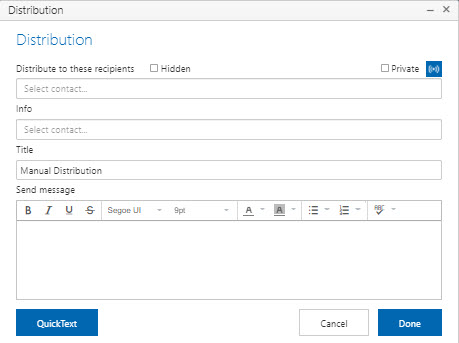
Just as it sounds, manual distribution allows you to manually pick recipients to issue documents to. You can choose to send to individuals, companies, project roles and groups.

Distribution via a Distribution List
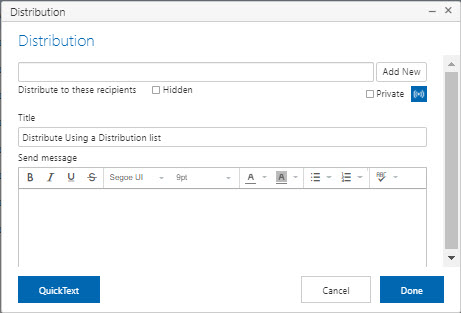
Instead of picking the same recipient over and over again, use a list to make sure you always include the right people. At the time of distribution, you can select a pre-existing list or create a new one.

Automatic Distribution
| Warning |
|---|
| Automatic distribution does not currently adhere to the Who Talks to Whom Matrix |
| Warning |
|---|
It's important to note regarding Transmittals (DTX) via Automatic distribution that : If there are multiple recipients from different companies addressed in it Then they are not able to see users in action/info users other than their own company's And then they are also not able to see a respond button This is the case to ensure security and privacy of participants from different companies within the distribution |
Automatic distribution is great for distributing new revisions to existing documents. The system will find everyone that has received the previous revision of the selected documents and distribute the new revision to them.
The number shown here indicates the amount of users that will be automatically sent the latest revision (based on who received the previous revision).
 Image Modified
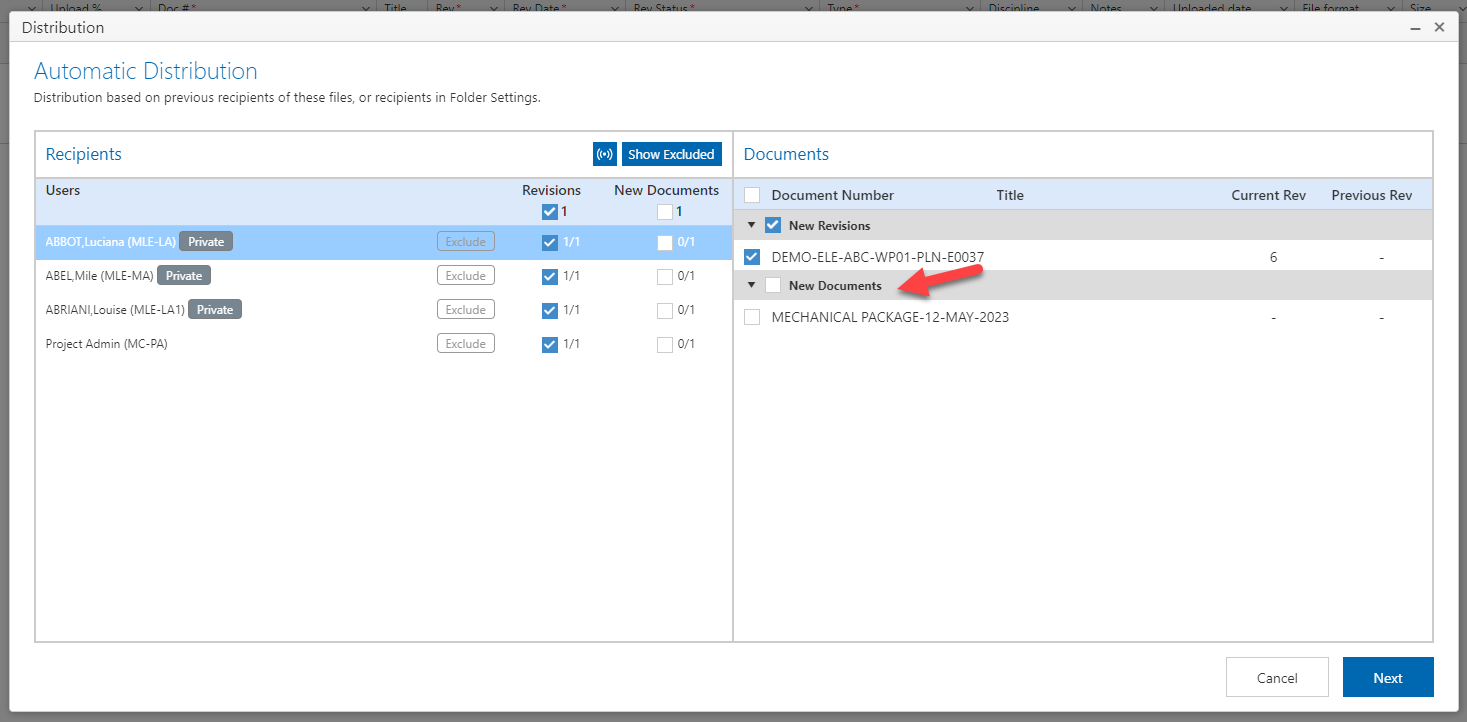
You can also distribute new documents as part of an Automatic distribution to previous recipients.
The automatic distribution screen has two sections:
- New Revisions
- This section will show revisions of existing documents you are uploading.
- New Documents
- This section will show new documents you are uploading in the same upload.
From here the user can optionally include the new documents to the previous recipients.
What Do the Numbers Next to the Recipient's Name Indicate?
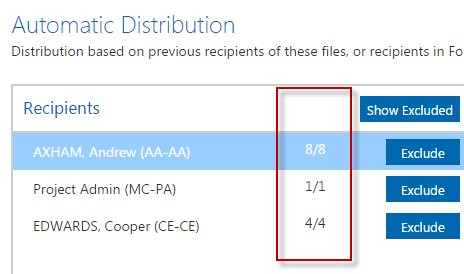
This indicates that
- Andrew Axham will be Auto distributed 8 documents from the total of 8 that can be auto distributed to him.
- Project Admin will be auto distributed 1 document from the total of 1 that can be auto distributed to them.
- Cooper Edwards will be auto distributed 4 from the total of 4 that can be auto distributed to them.
In the example below, Cooper Edwards is receiving 5 documents out of the possible 6 documents that could be distributed to him because we have unticked one of the documents.

Exclude Users from Automatic Distribution
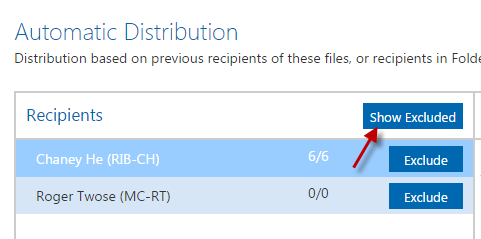
To exclude a user from automatically receiving this new revision click on the Exclude button next to them.
Please note excluding a user here will also exclude them from receiving any future revisions of the same documents until you decide to re-include them.

Re-Include Excluded Users
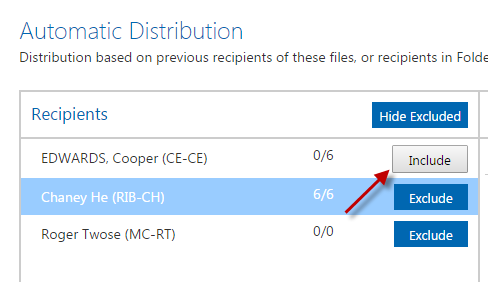
To re-include a user for automatic distribution, click on the Show Excluded button.
Then click Include.

| Note |
|---|
This will re-add the user into the Automatic Distribution list for any future revisions of the document |
| Info |
|---|
You can also turn off Manual or List distribution as shown here |
Skip Distribution
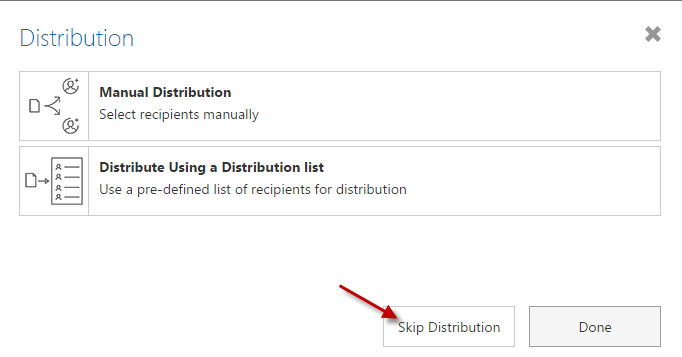
If you would like to distribute your documents at a later time you can opt to Skip Distribution after you complete the upload of your documents.
1. Upload the documents.
2. Fill in the necessary details for the revisions.
3. Click on Upload.
4. On the Distribution page click Skip Distribution.
| Note |
|---|
Skip Distribution will only be possible for any new uploads. If you are uploading revisions of documents this option will not be shown on the Distribution pop up. |
What to Include on the Distribution
With all distribution methods, the following may be included:
Adding a Title to the Distribution Transmittal
When distributing you must add a title to the Transmittal that will be sent to the recipients.
Simply add one into the Title field before distributing.
Adding a Message to the Distribution Transmittal
When distributing documents you can optionally add a message for your recipients.
Add your message to the Transmittal before distributing.
Private Distribution
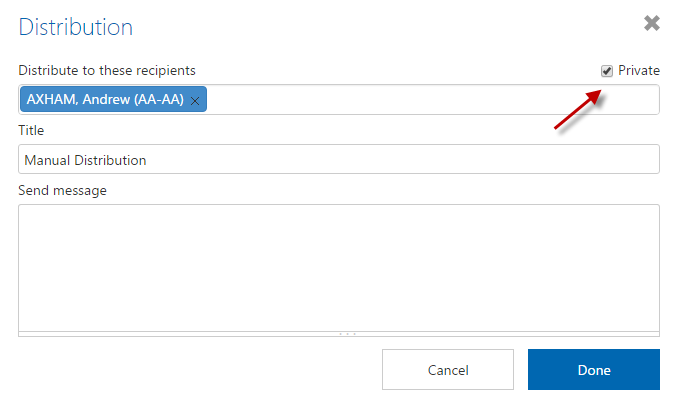
When you distribute documents manually or using a distribution list you have the option to share the documents Privately.
Privately distributing documents entails that only the users you specify will have access to the documents. There will be no inherited rights for users within the same company.
1. Select either Manual or Distribution using a list and tick the Private tick box.
2. Then click Done.
Hidden Distribution
You can distribute documents to multiple recipients and flag it as hidden.
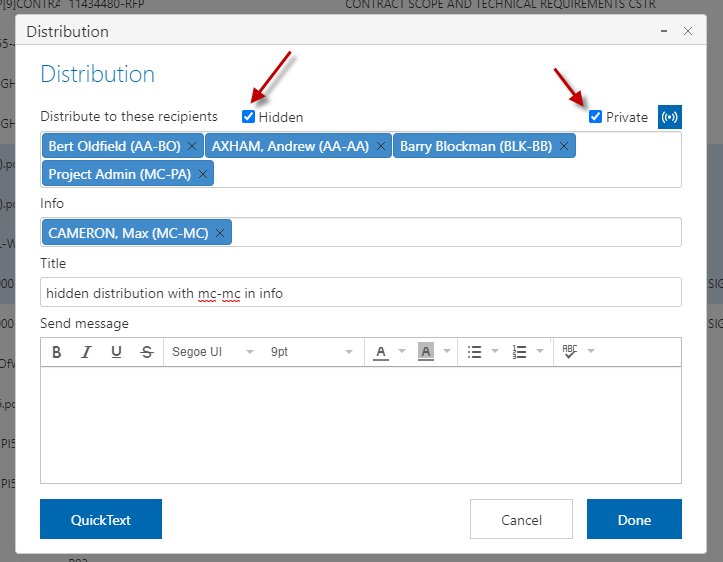
When a distribution is hidden a separate copy of the Distribution Transmittal will be sent to each recipient in the Action field. Info recipients will be added to each of those copies.
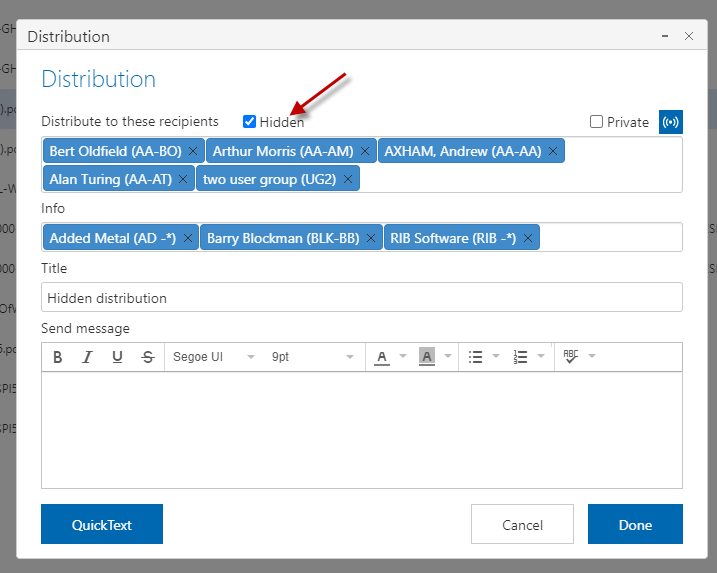 Image Modified
The sender of the documents will see all the recipients when viewing the DTX.
 Image Modified
The recipients (or the users in the action field) will only see themselves and the recipients in the info field.

Users within the same company will see each other in the action area even with the hidden option ticked. If you'd like users within the same company to receive their own Distribution Transmittal tick both the hidden and private tick boxes.
Disable Notifications
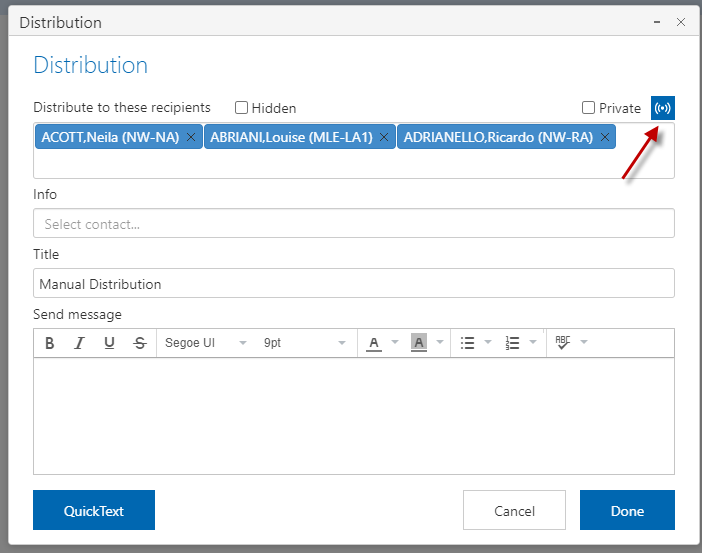
Disable all notification when distributing documents by clicking on the disable button.
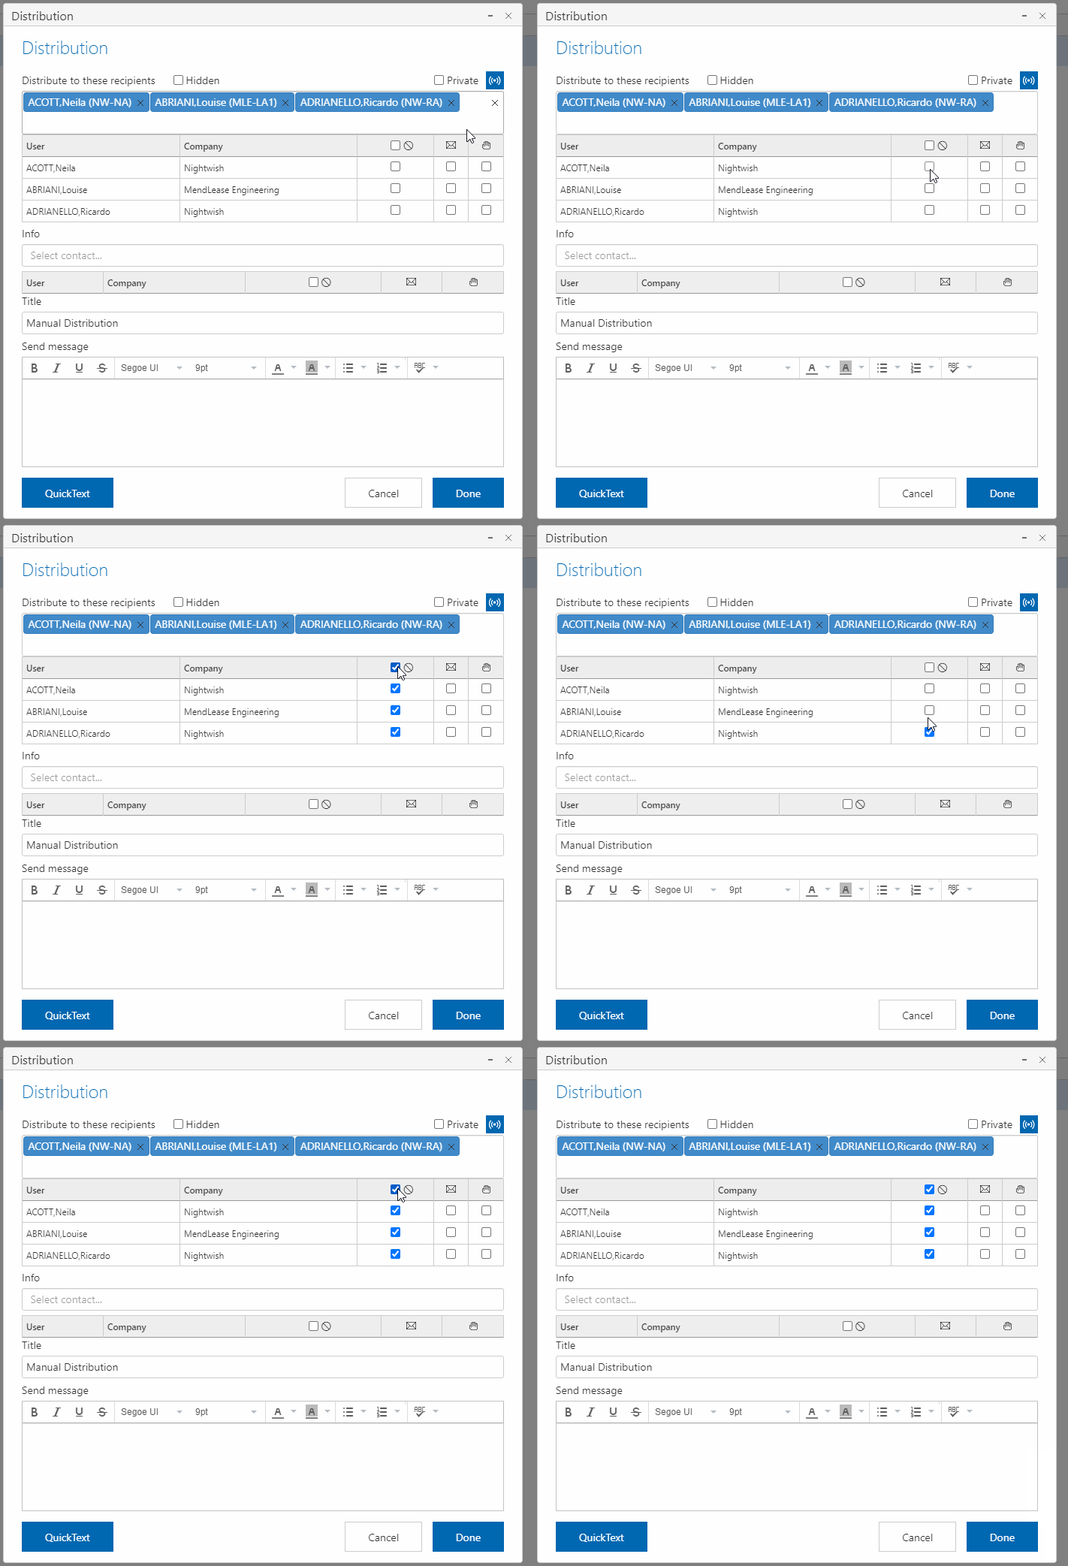
You can disable notifications for a single user or all users
1. Click on the notification settings button.
2. Tick the disable notification tick box for 1 or more users as required.
Other Options
Clicking on the radio icon will reveal the following legend:
![]()
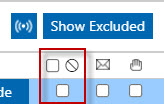
Disable Notifications
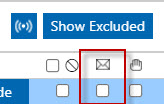
Send a Notification Email
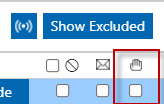
Will be Delivered by Hand
Custom Title for Manual and List Distribution
You can configure the title for a manual and list distribution to be blank by default and force users to enter the relevant title.
You can achieve this by setting the Default title to custom under Transmittal settings.

With Automatic option you see the Title filled in by the system. You can still edit it :

With Custom option you see a blank space under Title. And it is mandatory to fill in the title by the user :

Training Videos
The below Link will take you to the Training Videos Page.
| Table of Contents |
|---|